Sony ZV-E10 Short Film: How I Shot My Story
Learn more about the Sony ZVe10 Cinema Course here.
You can watch the short film My Story here.
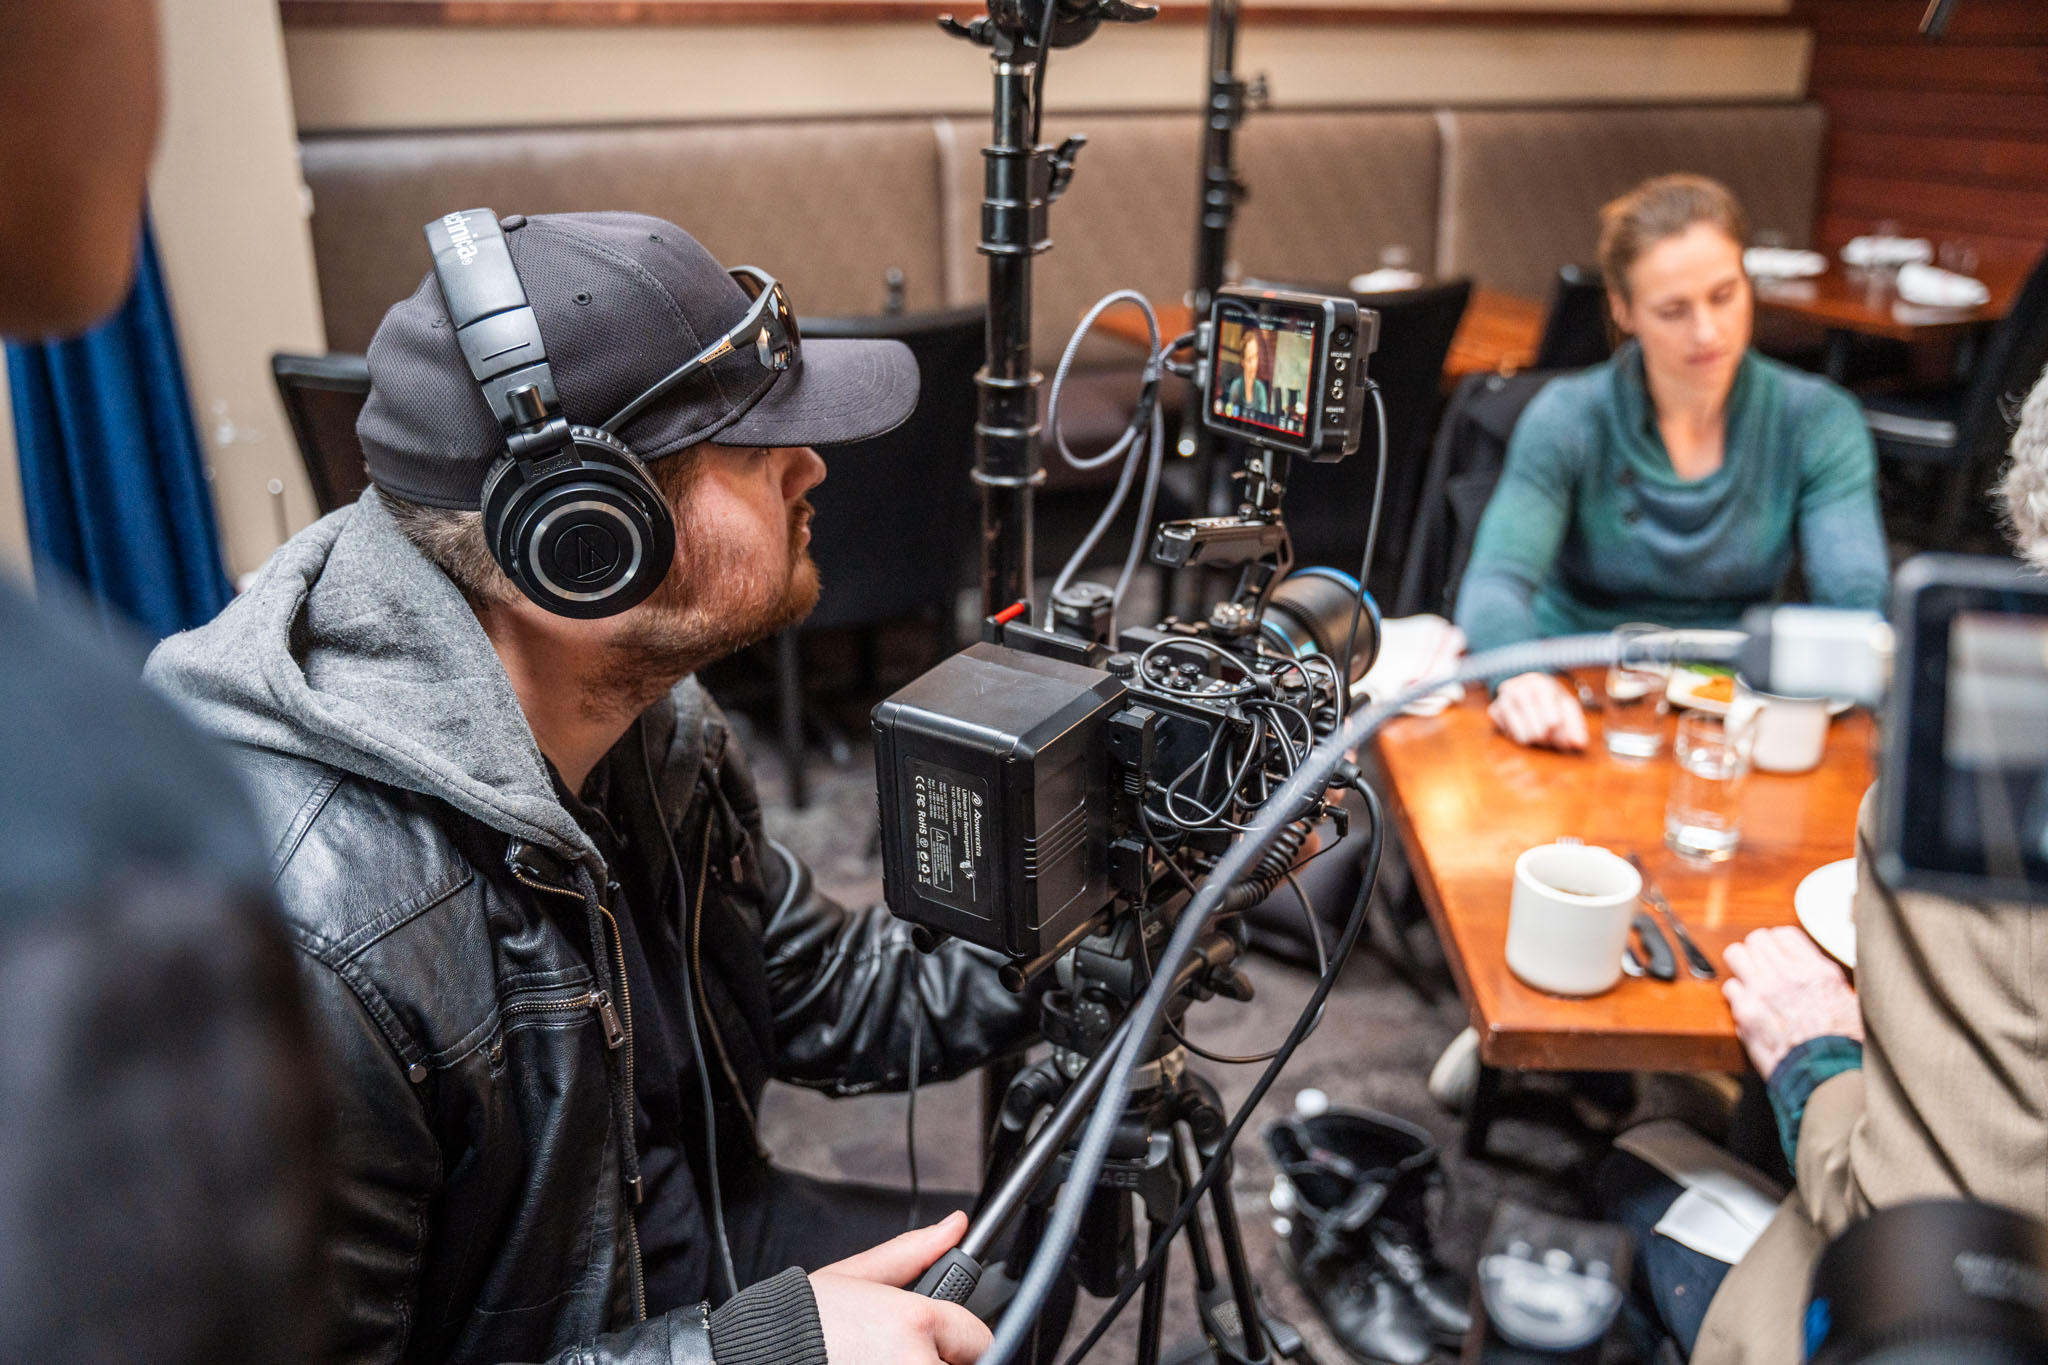
Can you shoot a professional-looking short film on the Sony ZV-E10? Absolutely. I shot my short film My Story using the ZV-E10, a few affordable Sigma lenses, a monopod, and a relatively small lighting kit. The camera has some limitations compared to the more expensive cameras I normally work with, but with the right techniques, you can capture some incredible footage without spending thousands of dollars on equipment.
Is the Sony ZV-E10 Good for Filmmaking?
The Sony ZV-E10 is one of my favorite recommendations for filmmakers looking to buy their first professional camera.
It has an APS-C sensor, shoots beautiful 4K footage, and offers fast autofocus with touch-to-focus tracking. When we shot My Story, the camera was selling for around $700, making it an accessible option for filmmakers who didn't have thousands to spend.
But I didn't want to just recommend the camera. I wanted to demonstrate what it could actually do on a real film set.
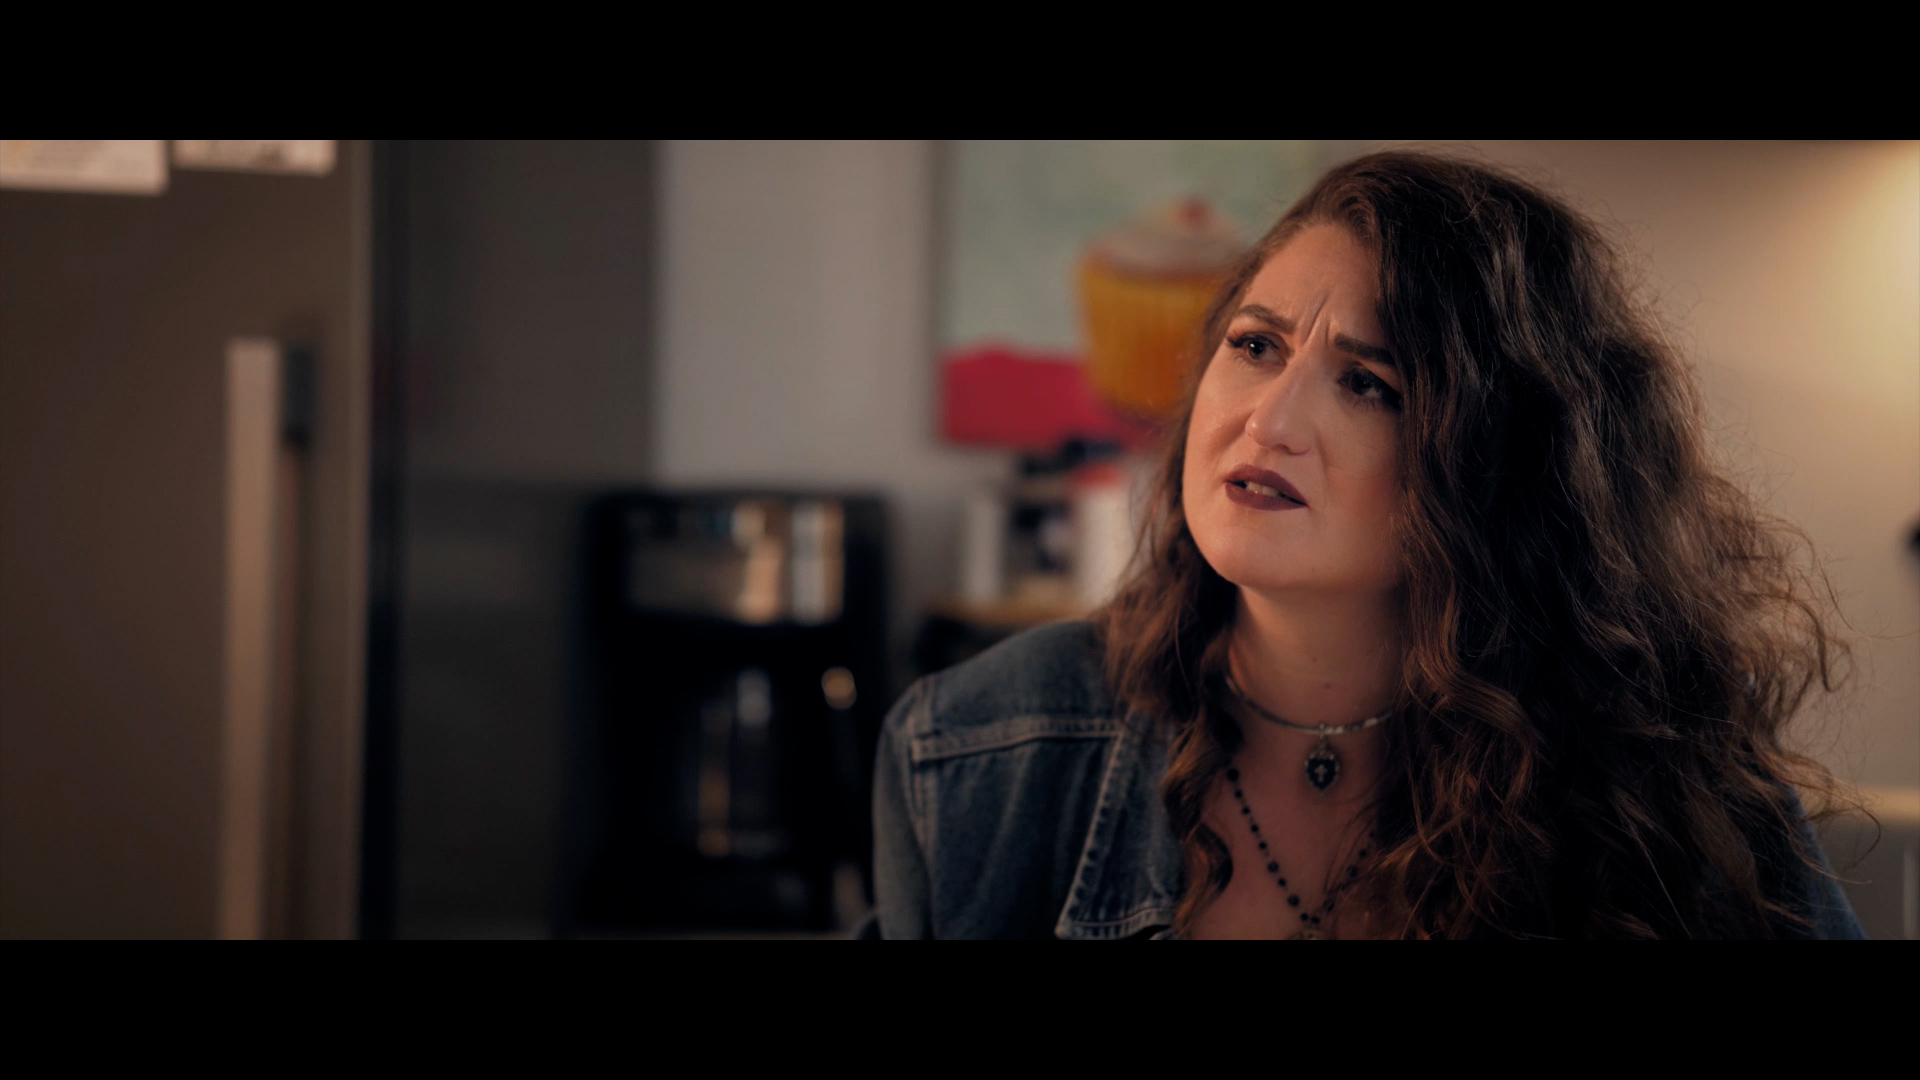
At Visionary Studios, we normally shoot our films and commercials on the Sony A7S III. Once we add a good lens, audio recorder, V-mount battery, and everything else, we're working with a camera setup worth around $10,000.
The ZV-E10 is considerably less expensive, and there are a few areas where it falls short. But I wanted to see whether those limitations would actually keep us from producing the kind of footage we'd be proud to put in one of our films.
So we shot My Story on the ZV-E10.
How We Got Cinematic Footage From the Sony ZV-E10
Two of the biggest challenges we faced were camera stabilization and getting the background separation I was accustomed to with our full-frame camera.
Neither required a more expensive camera to solve.
Using a Monopod to Get Stable Handheld Footage
One of the biggest differences between the Sony ZV-E10 and our A7S III is that the ZV-E10 doesn't have in-body image stabilization.
The A7S III can counteract some of the small movements that happen when you're shooting handheld. On the ZV-E10, those same movements can become pretty noticeable, especially when you're shooting with longer focal lengths.
The ZV-E10 does offer digital stabilization, but that introduces a crop into your footage. In the video, I described that crop as approximately 40%, which can make it harder to achieve the framing and background separation you're looking for.
For My Story, I specifically wanted much of the film to have a handheld look. There's a fight happening on screen, and I wanted the camera movement to contribute to the intensity of the scene.
Shooting everything on a locked-off tripod would have made the scene feel calmer than I wanted. But actually holding the ZV-E10 in my hands produced footage that was too jittery.
My solution was a monopod.
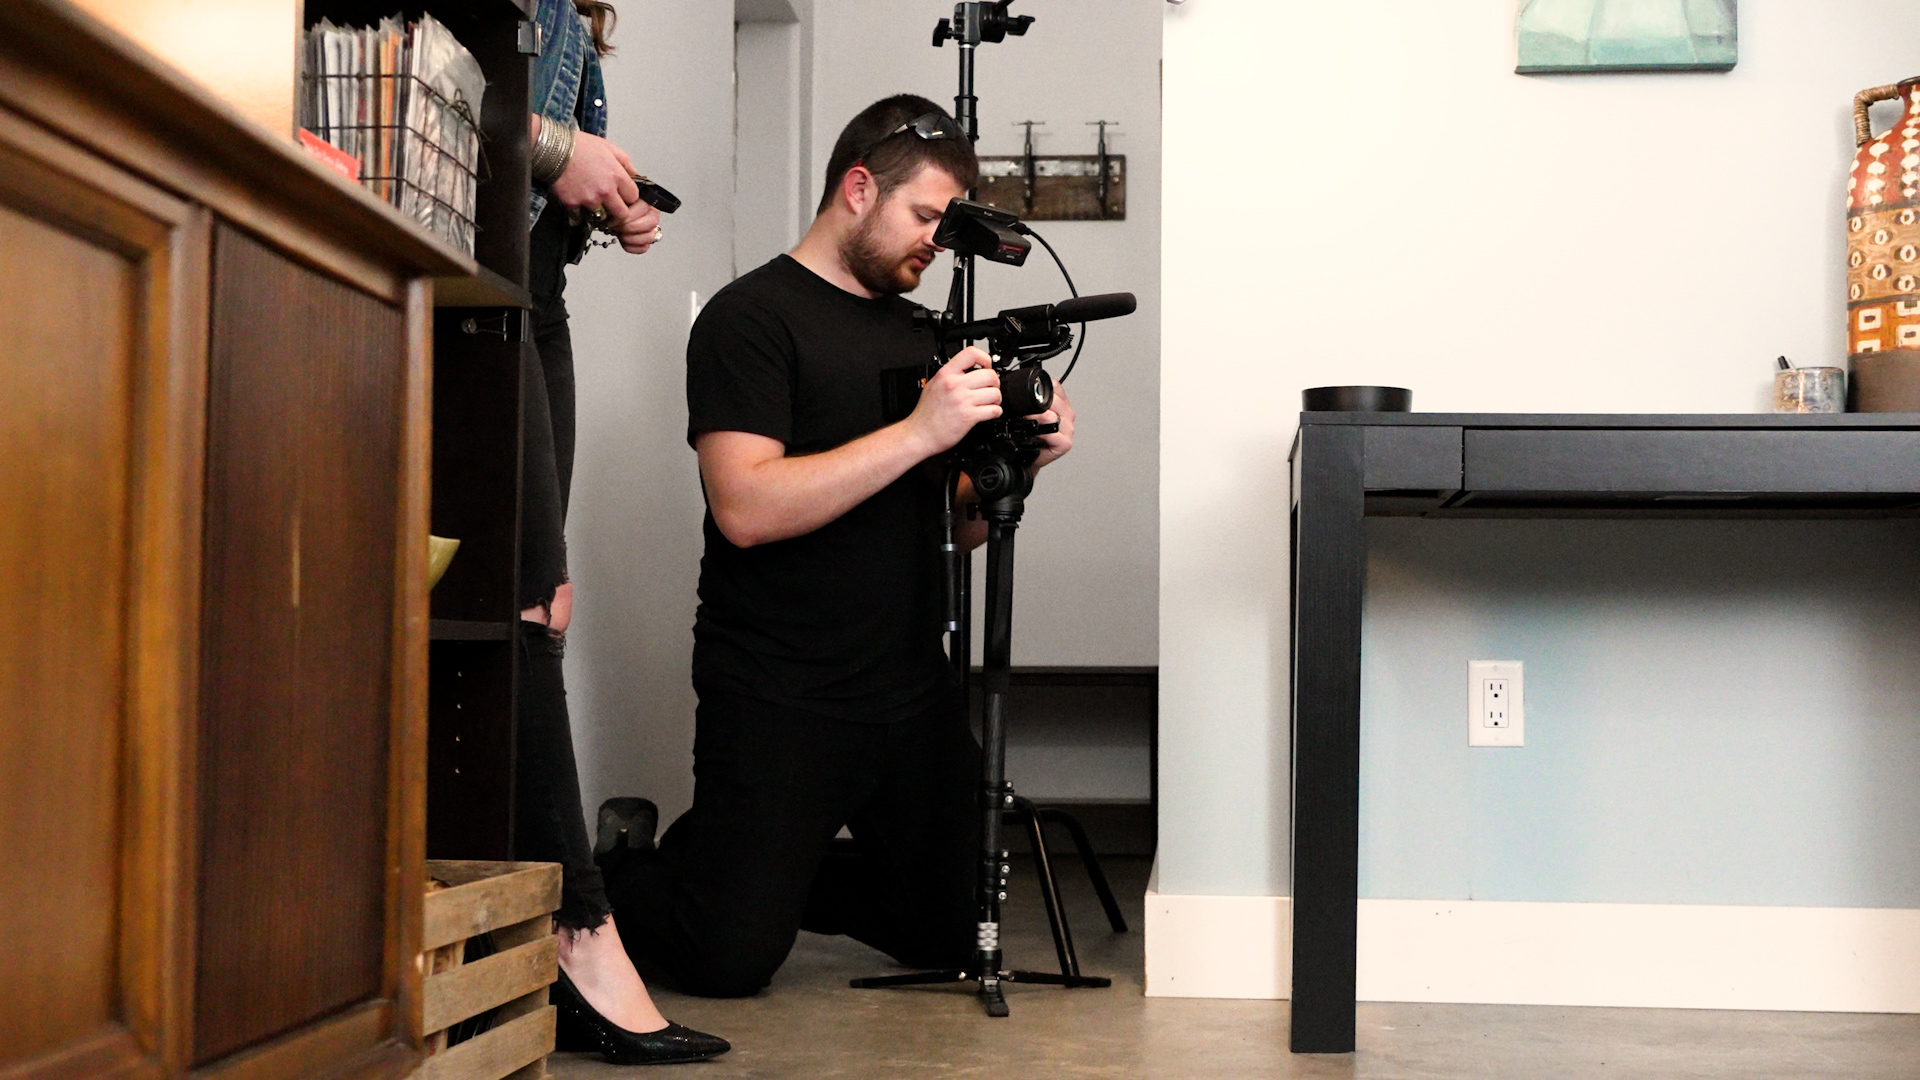
The monopod allowed us to retain some of the movement and energy of handheld shooting while giving the camera enough support to keep the image under control.
It was a simple solution, but it made a major difference. Instead of allowing the camera's limitations to dictate how the scene would look, we found a way to achieve the movement I wanted.
Choosing the Right Sigma Lenses for the ZV-E10
The other major difference between the ZV-E10 and A7S III is sensor size.
The A7S III has a full-frame sensor, while the ZV-E10 uses APS-C. With comparable framing and lens choices, the larger sensor makes it easier to achieve the shallow depth of field and blurred backgrounds I often want in my films.
To compensate, I chose three Sigma prime lenses with f/1.4 maximum apertures:
Sigma 16mm f/1.4
Sigma 30mm f/1.4
Sigma 56mm f/1.4
At the time we shot the film, these lenses cost roughly $300 apiece.
The wide apertures helped us achieve strong background separation despite the ZV-E10's smaller sensor.
But here's the interesting part: we barely needed all three lenses.
I ended up shooting most of My Story on the Sigma 30mm f/1.4. We used the 56mm for a few close-ups, and only one shot captured on the 16mm actually made it into the finished film.
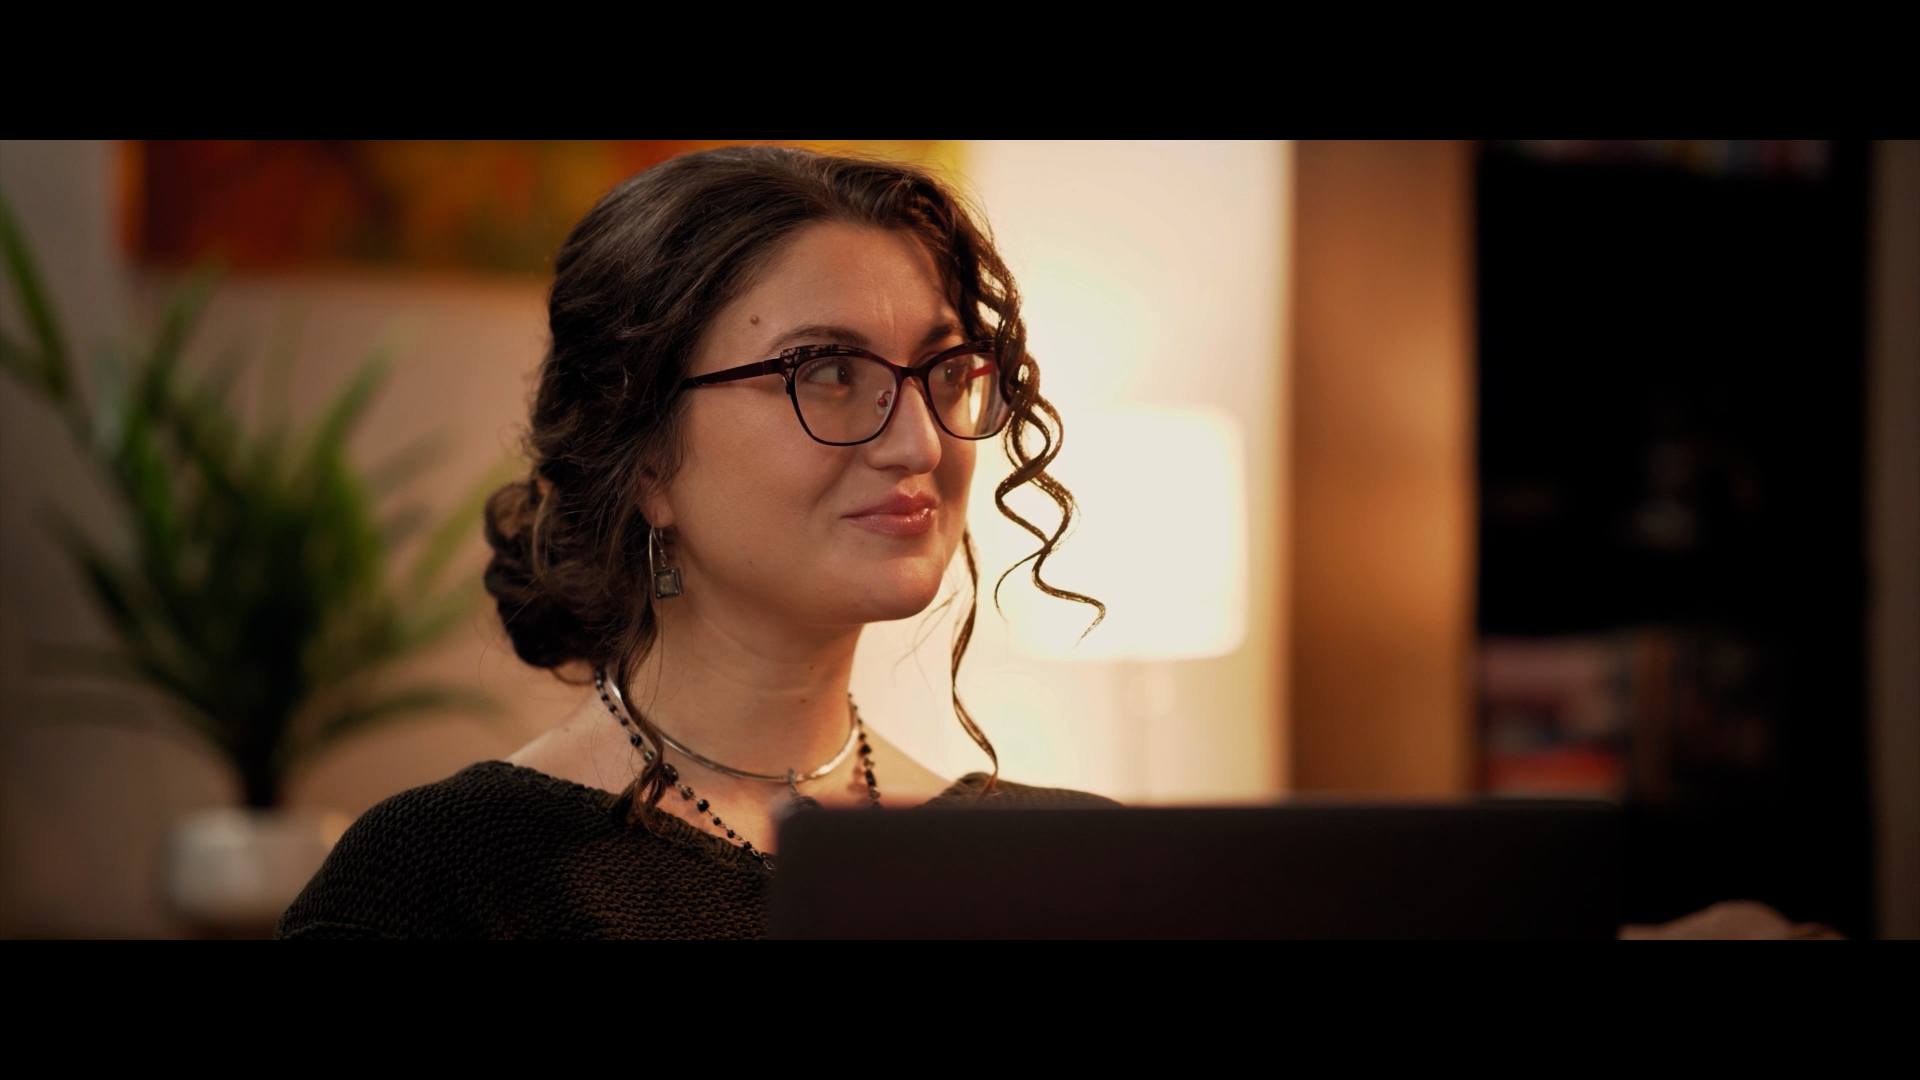
If I were shooting the entire film again, I'd be completely comfortable doing it with nothing but the Sigma 30mm f/1.4.
That's worth keeping in mind if you're building your first filmmaking kit. You don't necessarily need a collection of lenses to make a beautiful film. One good lens that works for the shots you're trying to capture can take you a long way.
How We Lit a Short Film Without Our Expensive Lighting Kit
Originally, I'd planned to shoot My Story using our normal lighting package, which was worth around $10,000.
Then, the night before the shoot, I had a thought.
If the whole point of this project was to demonstrate that you don't need tens of thousands of dollars in equipment to make a beautiful film, using a $10,000 lighting kit would kind of defeat the purpose.
So I scrapped that plan and assembled a much smaller lighting setup.
Rather than trying to overpower the location with big fixtures, I concentrated on making the existing lights in the room look more cinematic.
Building the Lighting Around the Room's Existing Sources
Our main key light was a Godox TL120.
I used it to mimic the ceiling lights already present at our location. By adjusting its placement and direction, I could control where the light fell while keeping the scene looking like it was being illuminated by the room itself.
Then I used two smaller Godox tube lights (TL30s) as hair and accent lights, adding little kicks of light wherever individual shots needed them.
On the other side of the room, I used an Aputure 100d, typically set between 10% and 35% intensity, to mimic the light coming from wall fixtures.
Finally, we placed a Neewer 660 LED light at its coolest color temperature to simulate moonlight entering through an offscreen skylight.
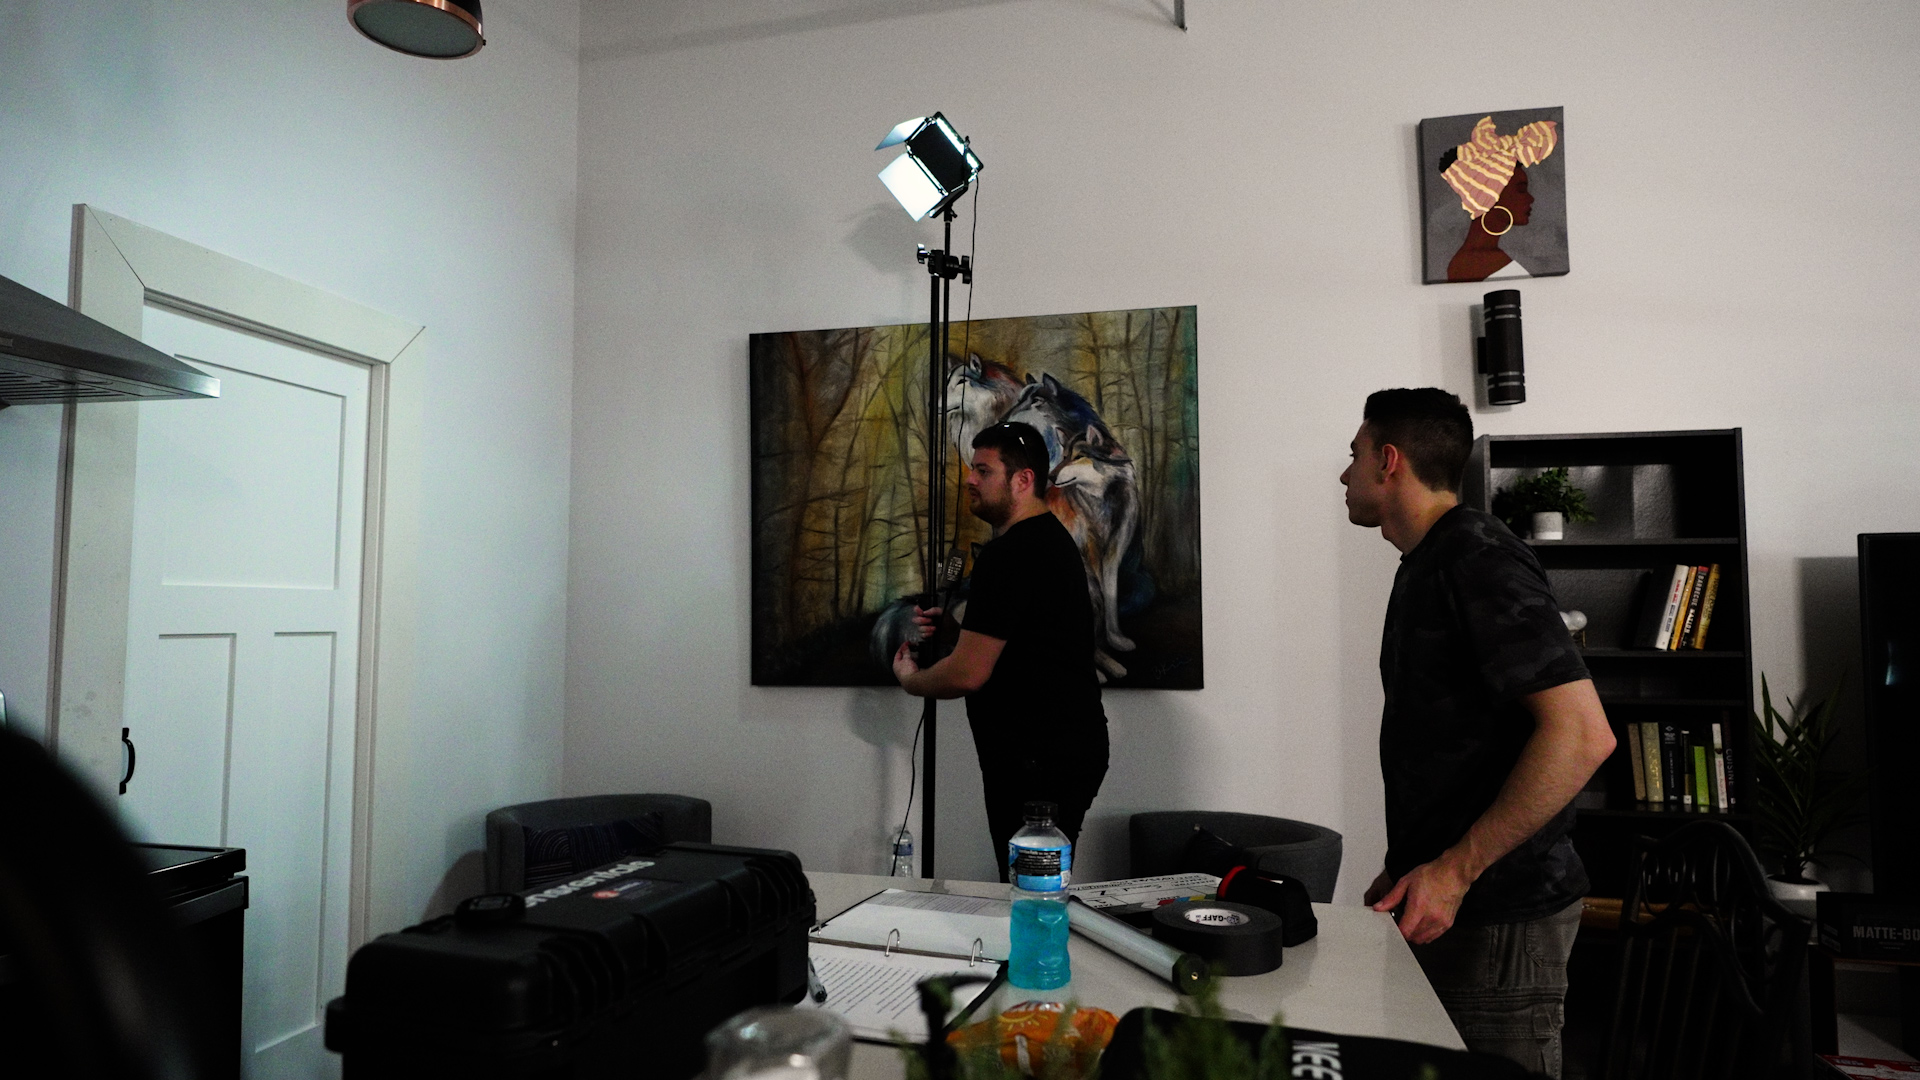
The important thing here wasn't the amount of equipment we had. It was understanding where the light should appear to come from and how to shape it to serve the scene.
We weren't trying to make the location look like a film set full of lights. We wanted the light to feel like it belonged in the room, while still giving us control over how the actors and environment appeared on camera.
The result was footage that looked far more expensive than the camera and lighting package we were using.
What It Was Like Shooting the Film
Gear decisions are only part of making a short film. Eventually, you've got to get everything and everyone onto the set and actually shoot the thing.
And I'll admit, I didn't exactly set myself up for a relaxing production day.
I'd spent weeks coordinating the project, working late nights and early mornings to get everything ready. By the time I finished our shot list the night before production, it was already 4 a.m.
I needed to be awake again in two hours.
Two hours of sleep wasn't exactly how I'd planned to prepare for a full day of filmmaking, but everything was finally ready.
We arrived at the location, started setting up the camera and lights, and prepared for the first scene.
Then our talent came out of hair, makeup, and wardrobe and stepped into position.
I'll never forget seeing that first frame.
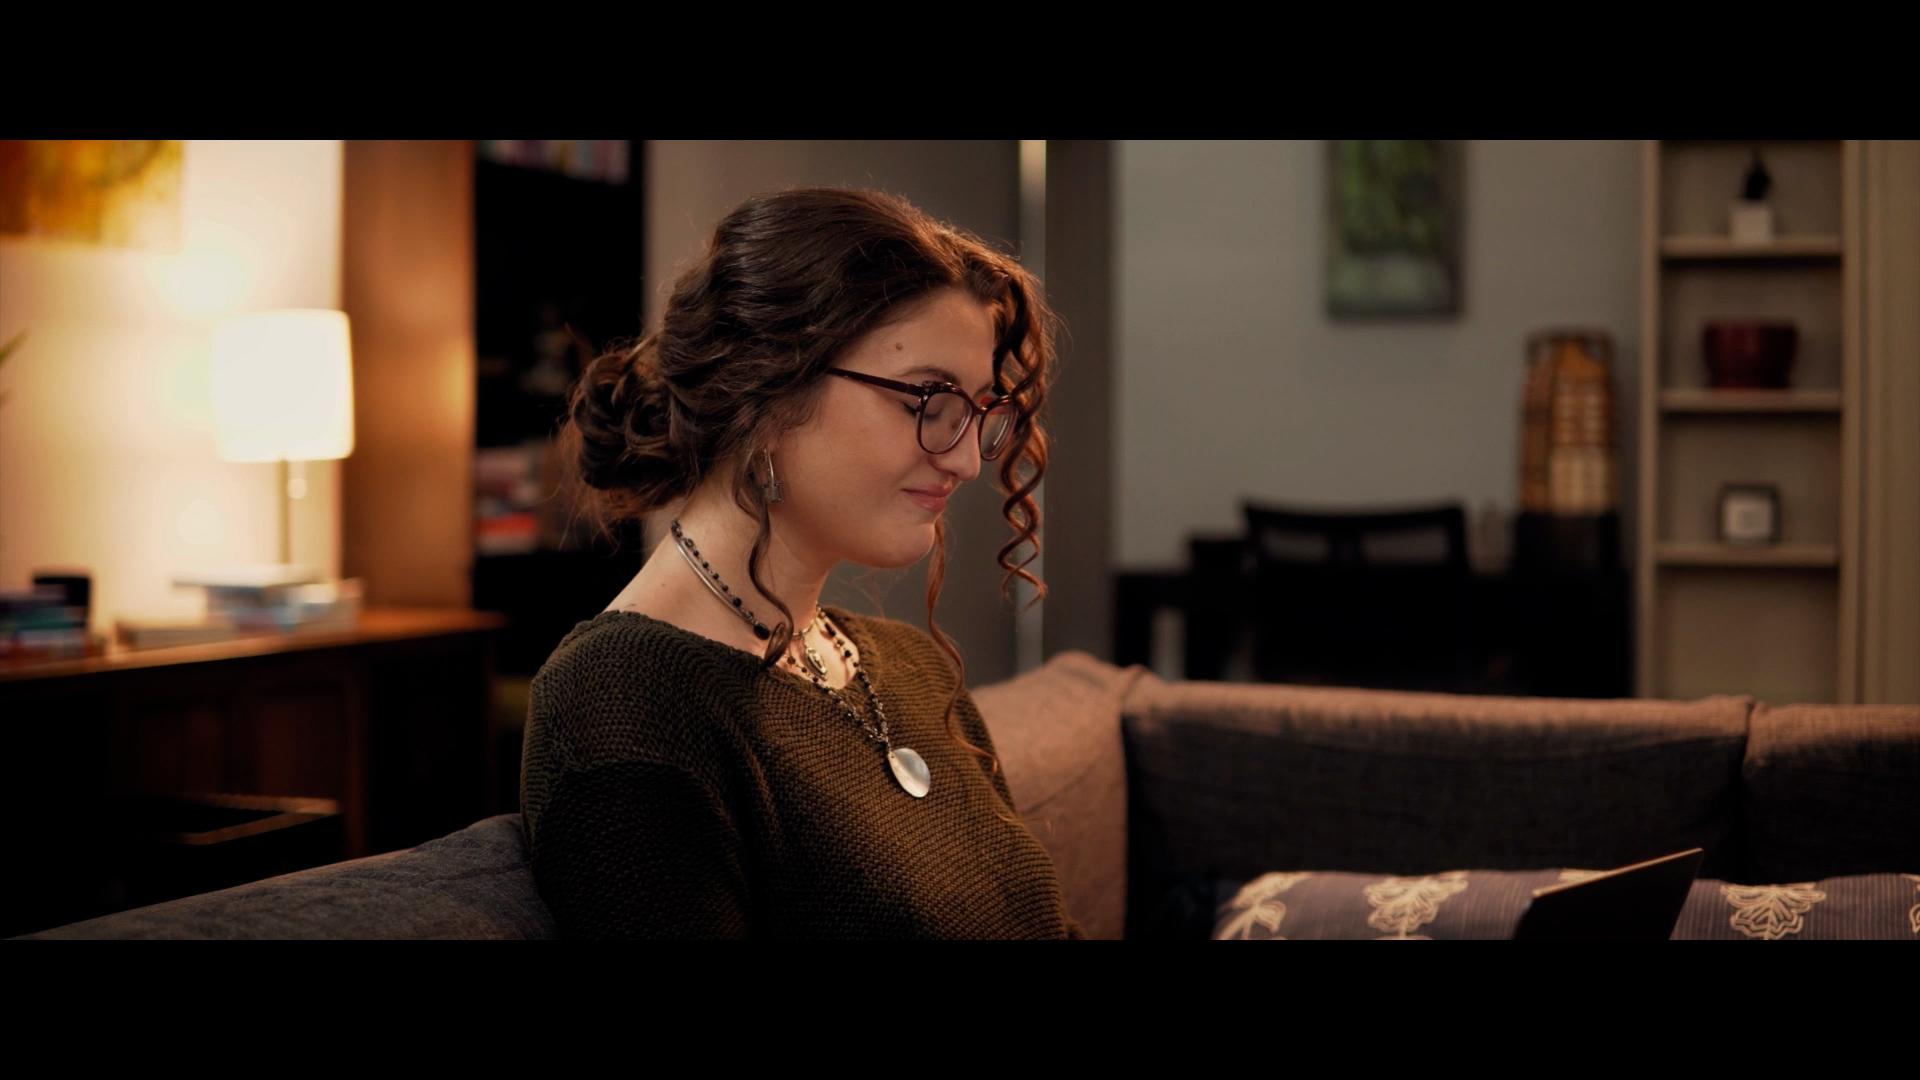
The image looked incredible. It didn't look like something we'd captured with an entry-level camera and a small lighting kit.
That was the moment the whole idea behind the project really came together for me.
We went on to spend twelve and a half hours shooting that day. We captured some incredible performances and emotional moments, and behind the scenes, we spent most of the day joking around and enjoying the process.
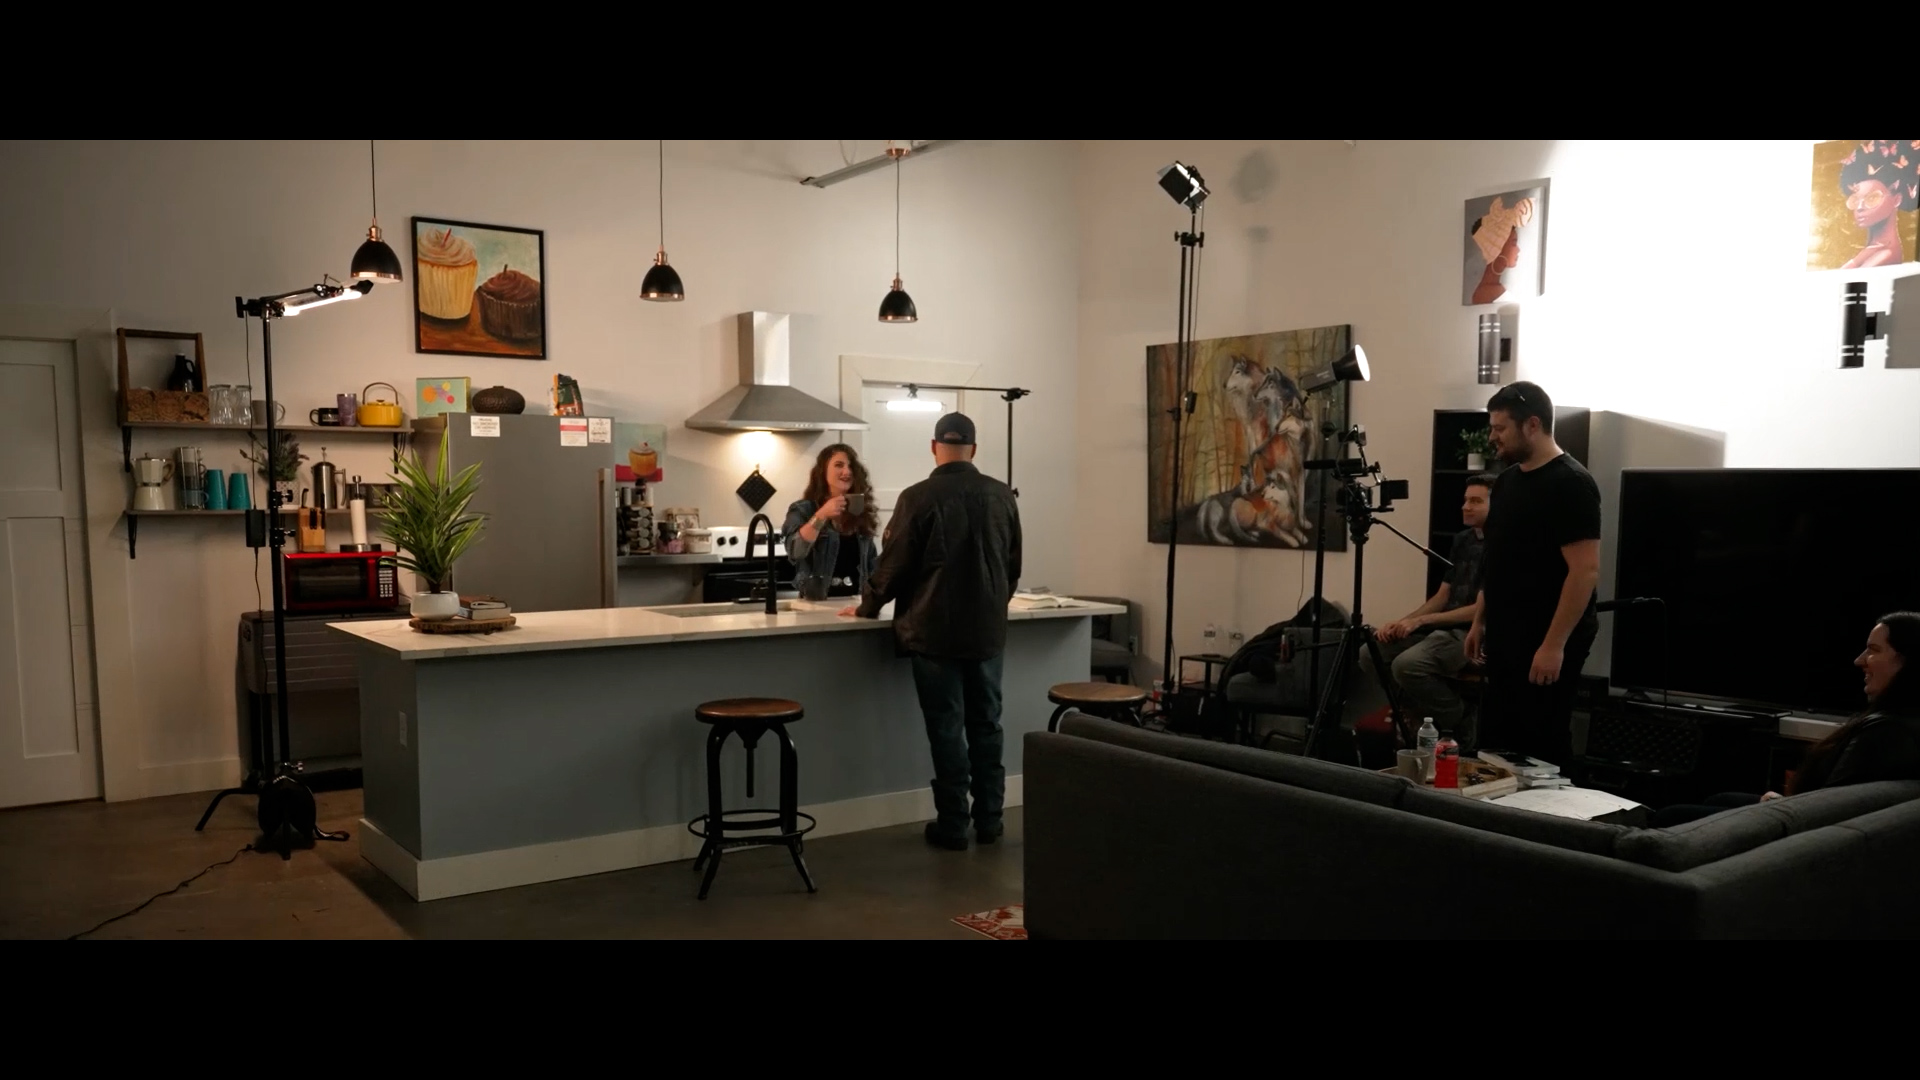
By the time we wrapped, I was absolutely exhausted. But we had the footage we needed, and I knew we'd made something special.
The Gear We Used to Shoot My Story
Here's a breakdown of the main equipment discussed in our production.
Equipment | How we used it |
|---|---|
Sony ZV-E10 | Main camera for the entire short film |
Sigma 30mm f/1.4 | Primary lens used for most shots |
Sigma 56mm f/1.4 | Selected close-ups |
Sigma 16mm f/1.4 | One shot in the finished film |
Monopod | Maintained a handheld feel while reducing unwanted camera shake |
Godox TL120 | Main key light, used to mimic ceiling fixtures |
Godox TL302 (2) | Hair and accent lighting |
Aputure 100d | Simulated wall lighting, set around 10–35% intensity |
Neewer 660 LED light | Simulated cool moonlight from an offscreen skylight |
This wasn't an attempt to make a film without any equipment. We used the tools we needed to get the results we wanted.
But we didn't need our normal $10,000 camera setup or expensive lighting package to do it.
And as I mentioned earlier, I could have comfortably shot the whole project with just one of those Sigma lenses.
Frequently Asked Questions
Can you shoot a professional-looking short film on the Sony ZV-E10?
Yes. We shot My Story entirely on the Sony ZV-E10 using Sigma prime lenses, a monopod, and a relatively small lighting package. The results demonstrated that the camera was capable of producing the kind of cinematic images I wanted for the film.
Does the Sony ZV-E10 shoot cinematic footage?
Absolutely. The camera can capture beautiful 4K images. For My Story, we achieved the look we wanted through our lens choices, lighting, composition, and camera movement rather than relying on an expensive camera body.
What's the best Sony ZV-E10 lens for shooting a short film?
For My Story, the Sigma 30mm f/1.4 was my most-used lens. We shot almost the entire film on it, and I'd be comfortable shooting the whole thing with that lens alone. That doesn't mean it's the right choice for every film, but it worked extremely well for ours.
Does the Sony ZV-E10 have image stabilization?
The original ZV-E10 doesn't have in-body image stabilization. It does offer digital stabilization, but that crops the image. On our shoot, we used a monopod to keep some of the handheld movement while avoiding footage that was too shaky.
Do you need expensive lighting to shoot a film on the ZV-E10?
No. We deliberately left our normal lighting package behind and used a smaller setup built around practical-looking light sources. The important part was knowing how to position and control our lights to create the look we wanted.
The Camera Doesn't Make the Film. You Do.
I made My Story because I believe there's something far more important to filmmaking than the equipment you own.
It's easy to look at professional productions and think you need the same cameras, lenses, lights, and resources before you can create something worth watching.
But I've never believed that.
I didn't go to film school or receive formal filmmaking training. I learned by actually going out and making films, finding ways to accomplish what I wanted with whatever resources were available.
And My Story is another example of what's possible when you approach filmmaking that way.
Don't waste thousands of dollars on equipment thinking it's going to turn you into a great filmmaker. Learn to use the tools you already have, understand how to create the images you want, and go make something.
Learn more about the Sony ZVe10 Cinema Course here.
You can watch the short film My Story here.
More Field Notes
Explore more of our Sony ZV-E10 for filmmaking Field Notes, covering the equipment and techniques we use to create films with this camera.
As this collection grows, related Field Notes on ZV-E10 lens selection, stabilization, and cinematic lighting will be useful companions to this production breakdown.